With many of us working from home as a result of COVID-19, we’ve come to realize that we don’t actually have an appropriate working space available to us. Quality desks and tables alike can be quite expensive, and it can be difficult to find something that you like. So, why not turn it into a fun project and build your very own wooden table/desk.
Cut Metal Bases to Length
First thing’s first, you’ll need to use a horizontal bandsaw and solid carbide endmills to cut the metal legs to the right length. Usually, a table is around 29 inches high, meaning that it’s a good idea to cut the legs to around 28 inches. This accounts for the other components of the desk to bring you to 29 inches.
Polish Legs
Secondly, using a hand grinder, you’ll need to polish the legs. For complete ease, the legs can be placed next to one another so that you can glide the hand grinder across each of the legs for a smooth finish.
Plasma Cut Metal Bases
It might be a good idea to draw out a shape for the desk feet using a marker before getting straight in there with the plasma cutter. However, once you have decided on and outlined your shape, you can cut the bases using a plasma cutter. It’s also a good idea to cut an extra couple of spares, just in case.
Machine Metal Top Squares
Next, the metal legs will need to be attached to the table’s underside via bolting screws. The holes for these will also need to be made using the plasma cutter.
Clean Metal Components
After this, each metal component will need to be cleaned. The best method of cleaning metal involves a TSP mixture and water solution, as this is most effective in removing oil and grease.
Weld Metal Bases Together
Following cleaning, the legs will need to be welded to the top and bottom pieces using a MIG welder. Firstly, the weld will need to be tacked before the larger weld seams are done on the bottom, followed by the top. The piece might incur slight warping upon coming into contact with heat; however, this can be compensated by the spacer material on the bottom of the legs.
Polish Metal Bases
Welding will result in impurities, so these should be polished away. Upon polishing, the legs can be coated with a sealant so that rusting isn’t incurred.

Stain and Weather Coat Wooden Desktop
Moving onto the desktop, the wood will need to be sanded with 220 fine-grit sandpaper before all wood dust is brushed away. After this, you should apply a layer of wood stain onto the desktop using a wide brush. Then, you should wait between five and 15 minutes for the stain to penetrate the wood; the longer you wait, the darker the stain will become.
Once the wood has reached your desired color, you can wipe off the excess stain with a cloth using even strokes in the direction of the grain. You should allow between four and six hours for this to dry so that you can coat the desk’s underside. After a day, you can then apply two to three coats of polyurethane sealant to prevent water damage.
Add Mounting Screws into Desktop
Penultimately, screw bolts will need to be placed into the underside of the desktop, so it’s a good idea to initially drill these holes to prevent the wood from cracking. However, when drilling, it’s important to ensure that you don’t drill right through the table. You can decide where the screws need to go by positioning the legs where you intend them to be.
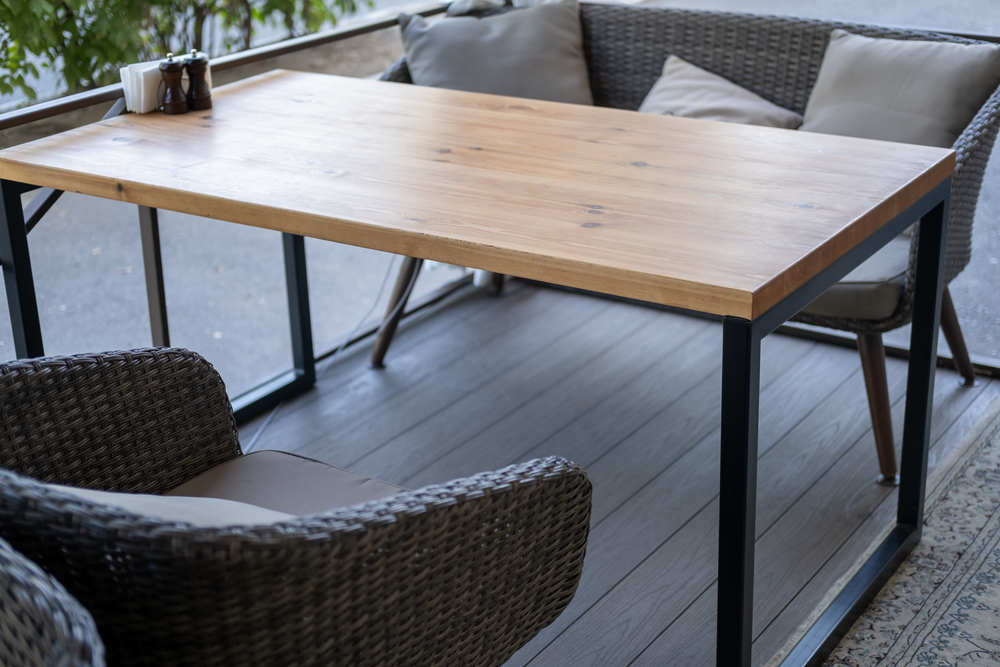
Assemble
Finally, you can attach all your pieces together!