


No introduction is needed for the vivacious beauty that false eyelashes give to your eyes. Slowly and steadily becoming an indispensable part of makeup, artificial eyelashes add beauty to your overall look. False eyelashes are becoming a part of every makeup enthusiast’s makeup kit. Putting on artificial eyelashes is not an easy task but it is not impossible either.
Following are seven mistakes that can avoid while putting on false eyelashes to make your makeup routine easier:
1 – Not Doing Your Eye Makeup First
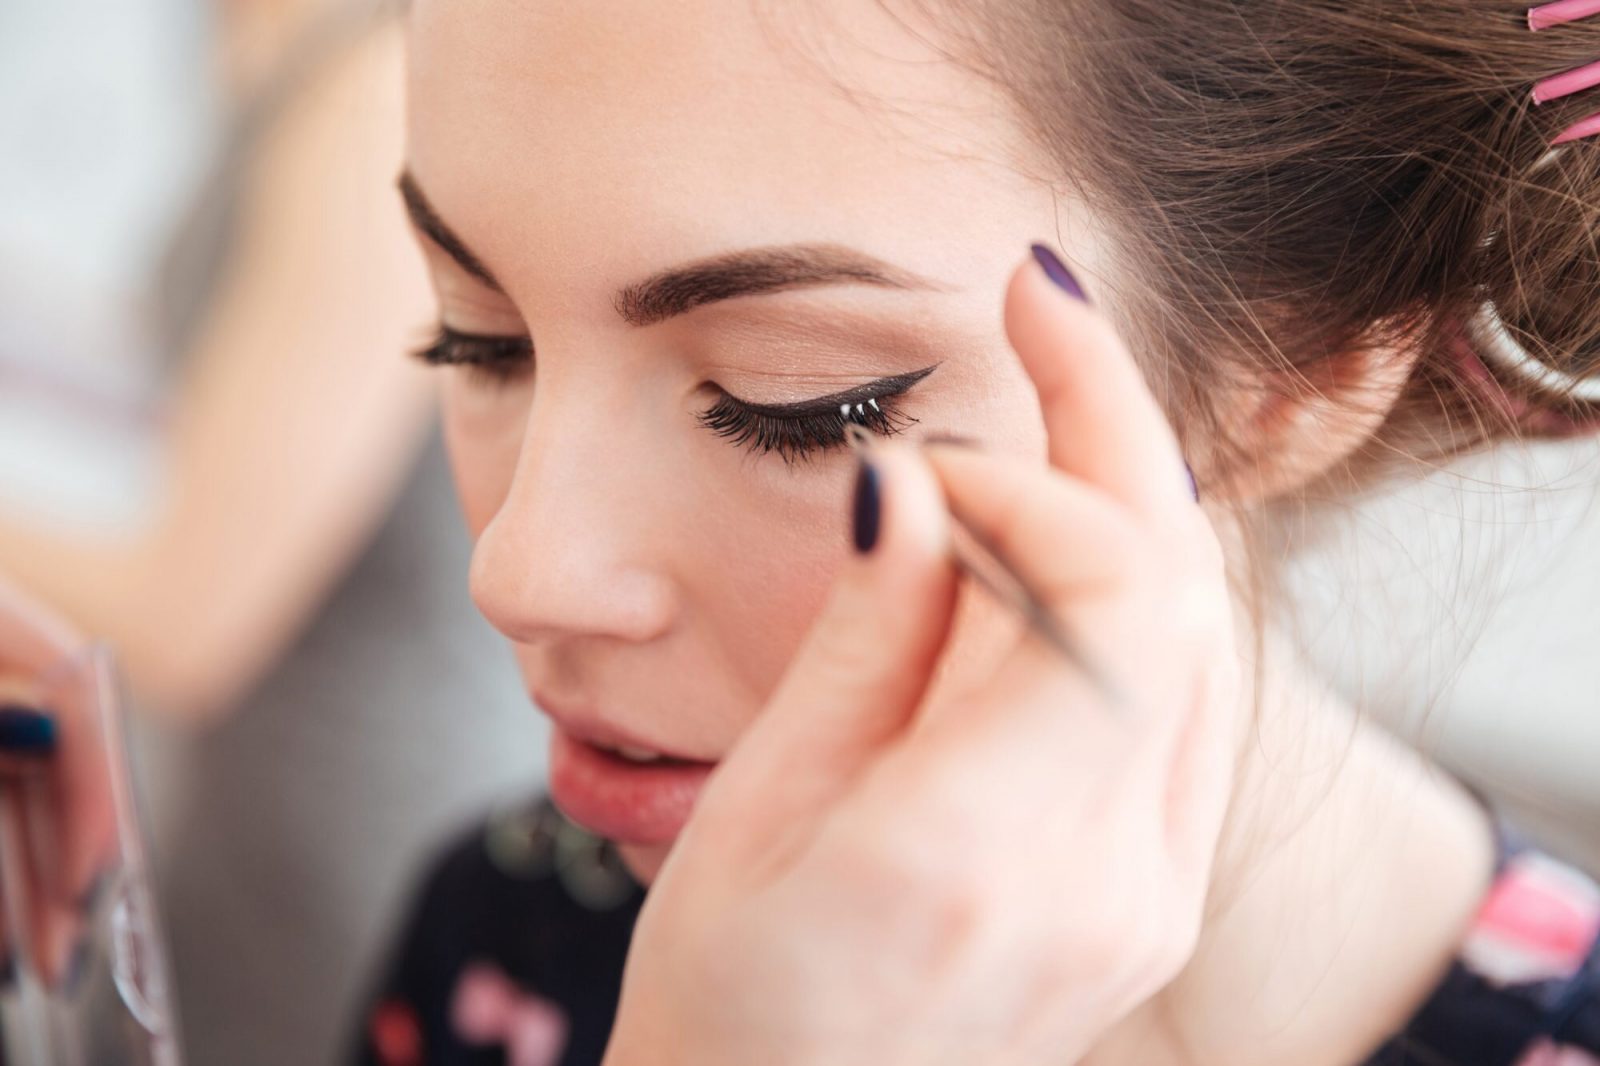
The very first thing you should keep in mind is to finish doing your eye makeup before you begin the process of applying false lashes. This should be done for two reasons. The application of glue to your bare skin can be damaging. You should choose your eyelash adhesive with caution. The eye makeup can be a protecting cover for your eyelids to contact the glue. And if you do your eye makeup after attaching false lashes, the final look would not be as appealing as it would be if you did makeup beforehand.
You should first do your eyeshadow and eyeliner and then jump to attaching false lashes. Make sure that the eyeliner you apply is a thick line as it would help hide the attached line of the false lashes later.
2 – Leaving Space
You should be conscious of where you are putting glue and if you attached the false lashes in the right position. Do not leave any space between your false eyelashes and your natural lash line. This is crucial as makeup should appear effortless. If the onlooker can see a visible gap between the false lashes and your natural lash line, the artificiality of it all would ruin the look.
While not leaving space is an important aspect, you should also be wary of putting your false lashes right on top of your natural ones. You do not want to strip your real lashes when you attempt to remove your false lashes at the end of the day. The lashes should be applied to the skin but the gap between the real and false lashes should be as minimal as possible. Make sure you cover the gap with your eyeliner once the glue dries.
3 – Not Customising to Eye Size
Everyone who puts on false eyelashes has at least once considered if it may look artificial. This can be easily avoided though. Once you get your hands on your false lashes, make sure you customize them as per your needs. You can also customize your own lashes in Starseed.
If you need any help, you can watch tutorials that might aid you in customization. In general, customization of false lashes involves trimming the length of them in case they are longer than the eye line. Some experts also advise cutting the false lashes into three parts each so that the application is easier and they sit well with the natural curve of the eye.
4 – Using Too Much Glue
Take care of the amount of glue you are subjecting your eyelids to. You do not need to slather the skin above your lash line with adhesive to make the false lashes stick. Use a brush with a fine tip to spread the glue in a thin line above your natural lash line.
Too much glue would make the application procedure dodgy and the eyelashes would take a long time to stick and set properly. Ideally, you should apply the glue in a thin line and then wait for a bit so that it dries before attaching false lashes. This should be done so that the lashes stick better. Depending on the thickness of the glue, you should wait about 15-25 seconds after applying the adhesive.
5 – Sticking All of it At Once

Now that you know what needs to be done and what needs to be avoided before applying lashes, it is time to apply false lashes. It might seem daunting if you are applying false lashes for the first time but it would be easy enough if you keep calm and level-headed.
Your eye line has natural curves and you need to be respectful to those when you go on applying false lashes. Much like using eyeliner or the eyelash adhesive, you should do the application step by step too.
What you need to do is to first position the center of your false lashes to the center of your adhesive line. Once that is done, you can adjust the position of the false lashes so that they sit well on your natural lash line. Do not get too close to the inner corners as it would mess with your vision. Once you feel you are set, take a minute and let it dry.
6 – Not Positioning Your Head Right
Application of false lashes cannot be achieved perfectly if you do not position your head right. Your eyes should not be closed and your head should be too bent as it would impact the way your lashes are applied and would not give you a great finish.
If you stand in front of the mirror and look straight ahead and close the eye on which you have to apply the false lash, you run the risk of having a heavy-lidded look. The correct head position would be to keep your chin up (it is great advice for makeup too!) and apply the false lash as you keep your eyes open but looking down.
7 – Skipping Mascara As The Final Step
Now that you are done with the eyelash application and they are set above your natural lash line, the final thing remains. Despite your best efforts, there remains some slight difference in the height of the lashes that sit on your eyelids.
To perfectly give the impression that your lashes are thick and natural, you need to merge them into one. Use mascara to achieve the final finish. If you feel that mascara could make the removal of false eyelashes difficult by the end of the day, you can achieve a similar effect with an eyelash curler.
Conclusion
Achieving an effortlessly natural look is not difficult if you know what mistakes to avoid. The misconception that false eyelash would make your appearance artificial needs to be done away with. If you want to put on false lashes, do not go by societal prejudices. Just make sure you take care of your natural lashes as well as of your false ones.

